
What’s the best indoor game to play when entertaining?
What’s a game equally enjoyed by men women and children?
What game doesn’t take to long to understand, play, or enjoy?
Although billiards, bumper pool, fooseball and air hockey all have their proponents, The best game is Indoor Shuffleboard.
WARNING
This is not a $3000.00 game made with the finest maples, levelers, and fine oak trim.
This is an affordable alternative that will give you ,your family, and your guests hours of enjoyment and relaxation, and give you the satisfaction of knowing you made it yourself. This game can be built for under $300.00
Bored with another Illinois winter, I set out to make time fly with something other than the clicker and the Andy Griffith show. I went to the local Home Depot, bought some 2X4’s, laminated flooring, wood grained shelving, carpeting, numerical decals, etc. More on the material later. Within two weekends (approx 8 hrs. ) I had made a 12’ shuffleboard table. You don’t have to be a craftsman to build this project, just have a little extra time, a few power tools, and the normal household assortment of hand tools.
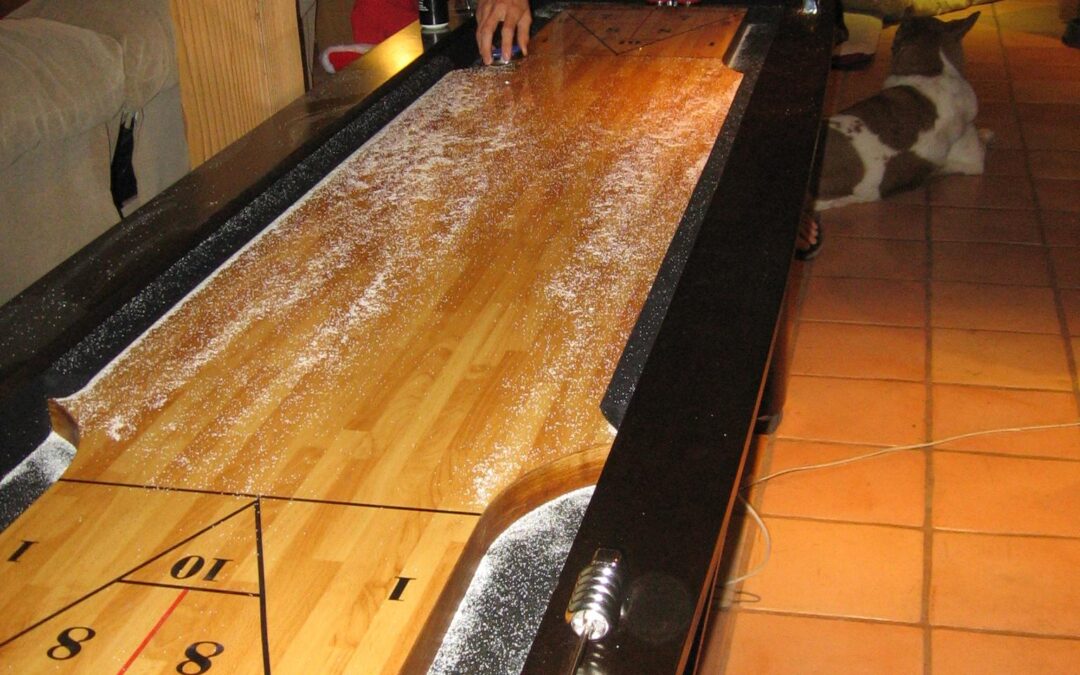
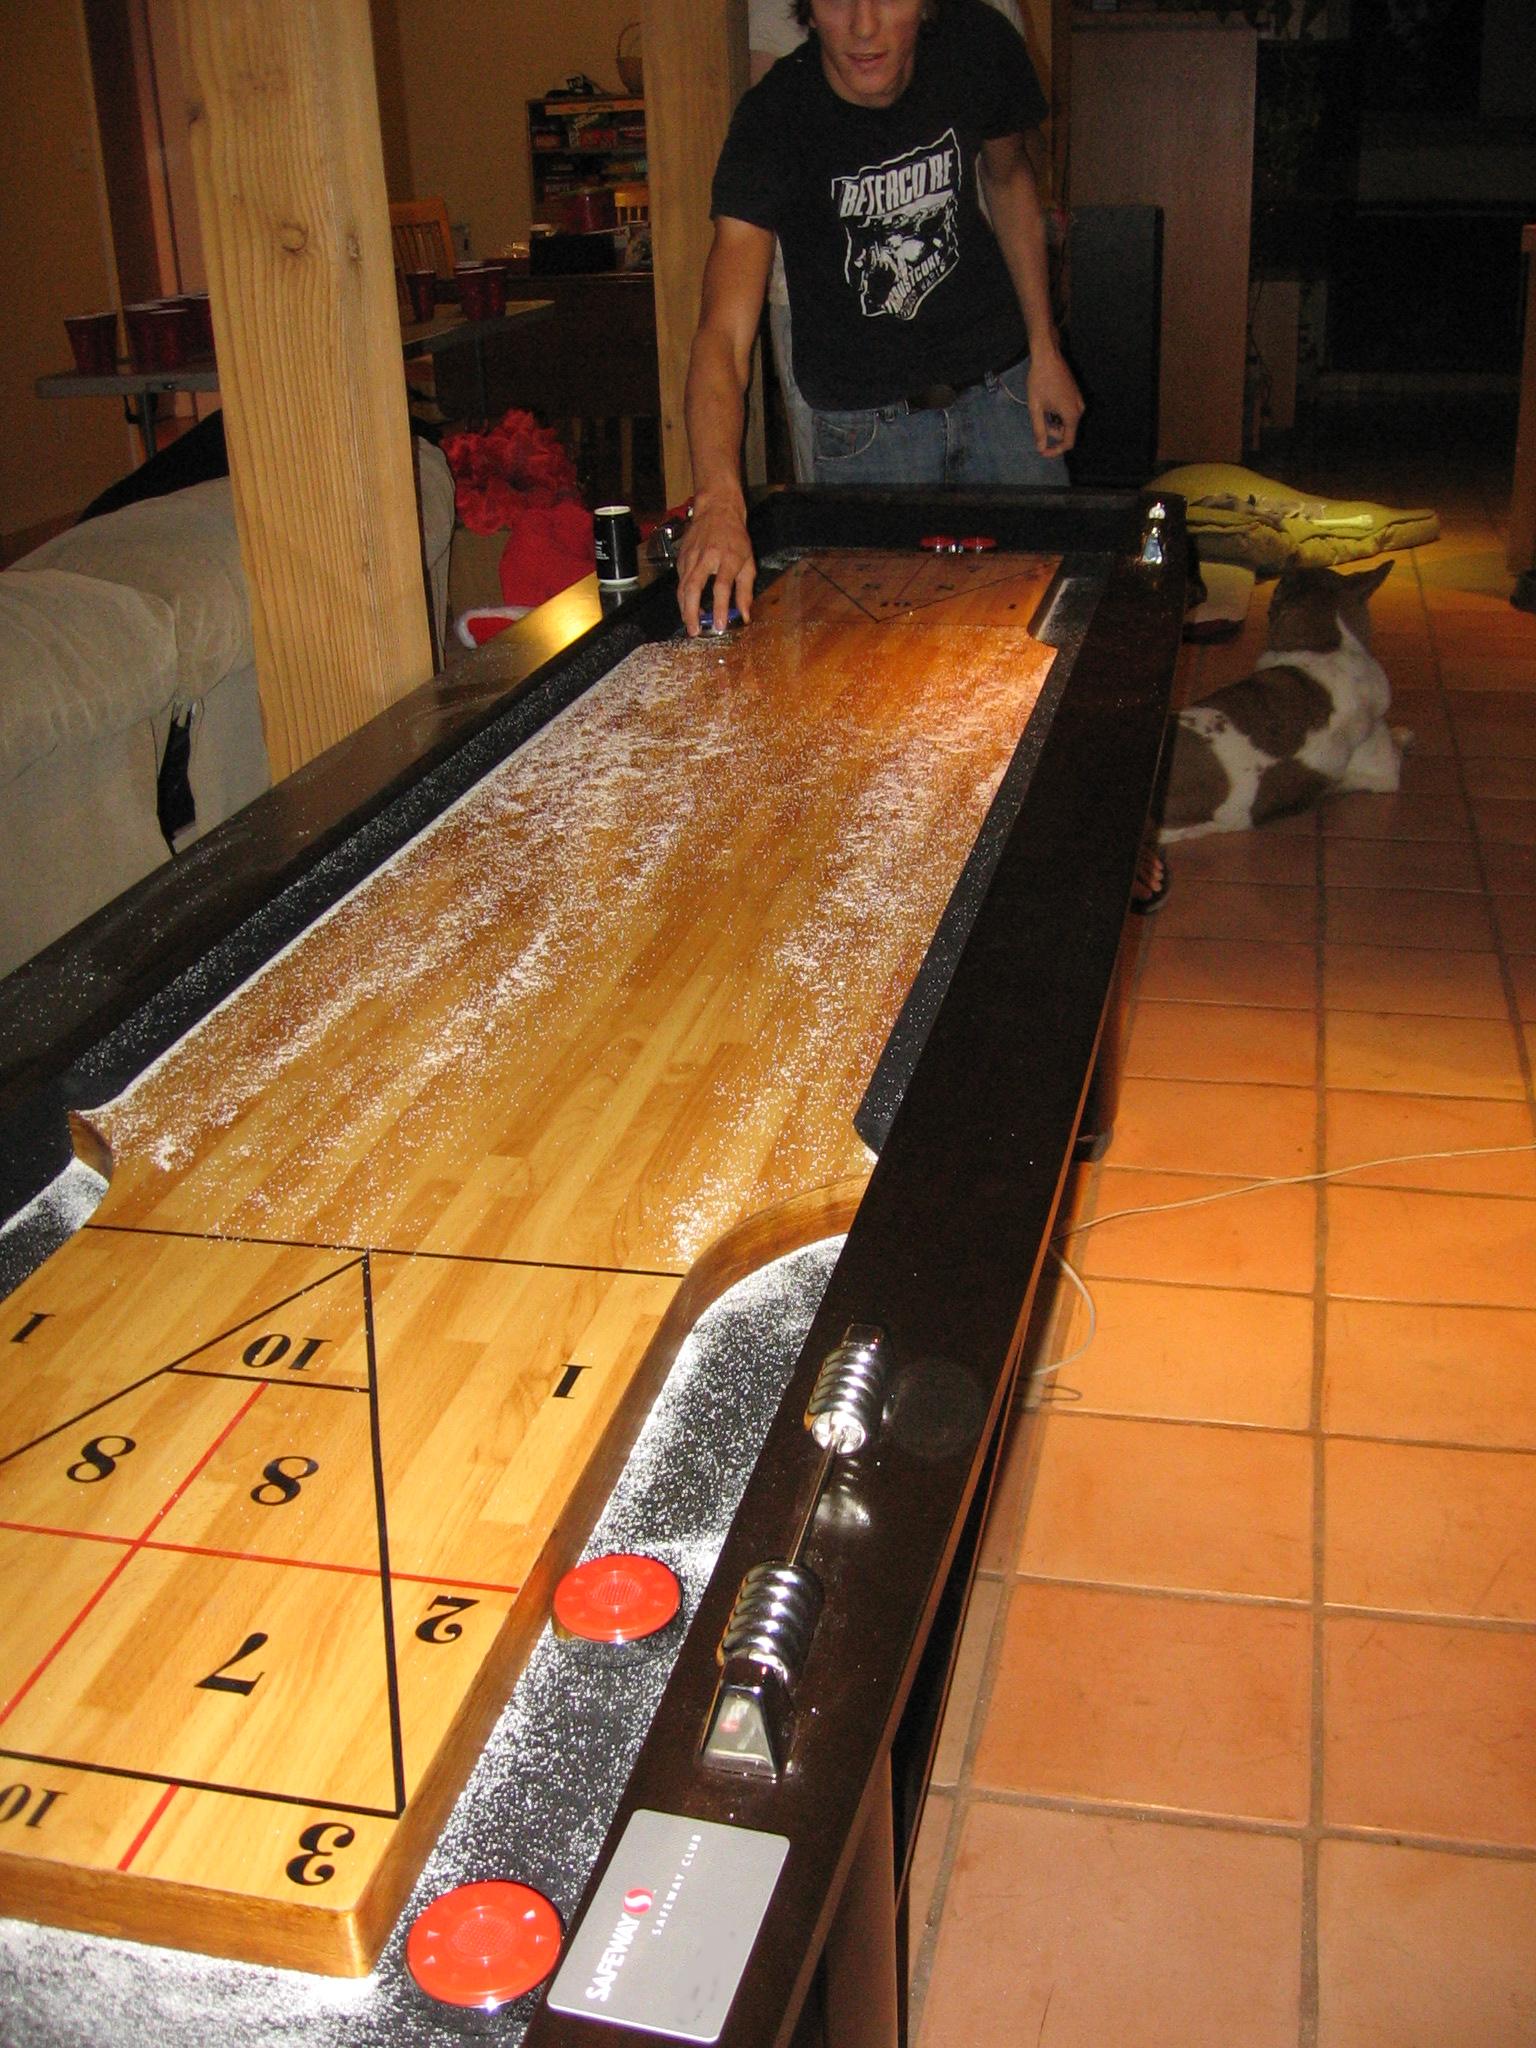
The beauty of this project is that you can customize the size of the table to conform with the size of your game room. (Tables can range in size from 9 to 24 feet) In my case it was the basement. The table will be a selling point when I sell the house as I won’t be able to get it up the stairs, without a chainsaw, but who cares? The cost was minimal considering the entertainment value we get from the table. Where else can you get your brother in laws to hang out and be out of the way when they visit for the Holidays. The table itself has a total length of 13’ with the actual playing surface measuring 12’X 20”x3“.. The height of the playing surface is 30”.
I buy most of my material at Home Depot because they will cut the larger pieces down to size for me on their big rip saws. This helps a lot in the transportation and lugging depts., and makes for a cleaner fit when assembling the final product. Some of the material is also purchased at Menards and Sams Clubs. There are seven components that go into the table. They are the frame, legs, playing surface, cradle, sides, scoring apparatus, and trim. The table below is an example of what can be accomplished with a little time, energy, and a small investment. For detailed plans: I start with a piece of ¾ plywood, mdf, or particle board (your choice) and have it cut to the desired measurements I will need for both the playing surface and the bed of the table itself. ¾ measurements
Shuffleboard – The Frame of The Playing Surface
I find 2X3’s work the best, they are a bit lighter than 2×4’s and plenty strong enough for the use the table will receive. (I’ve even used metal studs, they work fine) Cut your frame pieces to conform with the desired length of the playing surface. The upright pieces of your frame will be cut in 11/2” pieces. Cut the desired amount to support the playing surface. Your not building a house so use your own judgment.. Cover the frame with the ¾” material previously purchased.
The Actual Playing Surface
This is the most expensive part of the project. Laminate flooring can be purchased at all home centers. I’ve had good luck at Sams club, and Home Depot. Occasionally they have a closeout, just keep your eyes open and you’ll be able to pick it up, usually in an assortment of colors, at a great price I like the Maple tones, it looks the real thing. Attach the laminate to the frame of the playing surface. Dry fit the laminate, cut to size and attach to the frame.

The Cradle of The Shuffleboard Table
The cradle should measure 32” wide by the length you choose your table to be. I’m building a twelve footer, so my cradle should be at least thirteen foot long . Start with your support pieces. I use 2×4’s, cut to 13 feet, space them 32” apart (outside measurements) and attach the precut 32” material to the studs. I do the same on the ends, usually 301/2 “ to fit inside the 13’pieces. Drywall screws work fine or if you have a nail gun, use it.. Attach the precut side pieces to the cradle in the same manner. I’ll usually attach a 1×4 at he seam of the ¾ material for extra support. Remember the ¾ material comes in eight foot sections so you’ll need two pieces to achieve your length.
The Legs
Two sets of legs or three depending on you preference.The legs for the table are made from 4×4’s, 2×10’s, and 2×4’s. Cut the 4×4 to size, remember to account for the total height of the table. Center the legs on the 2×10 and space them equidistant. Cut the 2×4’s to encase the 4×4 leg . There will be four Use construction adhesive and drywall screws to secure the legs to the 2×10.
The Sides
I’ve found that standard laminated shelves work fine. I use the wood grain finish. The shelves come in standard sizes of 113/4” x8’ . In my area Menards has the best selection and usually runs sales periodically on these. Once you cut the sides to fit your length attach to the cradle with wood screws (use brass finishing washers for a cleaner look) to the 2×4’s on the cradle frame. Do the same with your end pieces. You should be able to get away with four pieces of shelving for the sides on a 13‘cradle.
The Trim
The most important piece of trim is the carpeting inside the cradle this not only makes the table look sharp, but also muffles the noise of the puck falling into the gutter. Any carpeting can be used, I usually go for discontinued or closeout styles. After a lot of trial and error (cutting a 4” wide by 13’ long piece of carpeting with a dull razor knife on your knees is a pain) I got my local Home depot associate to cut pieces to size for me on their carpet cutting machine. This saved a lot of time, aggravation, and penance. As far as the top and side trim, it’s your preference play with it a little bit. You’ll be surprised how good it can look.


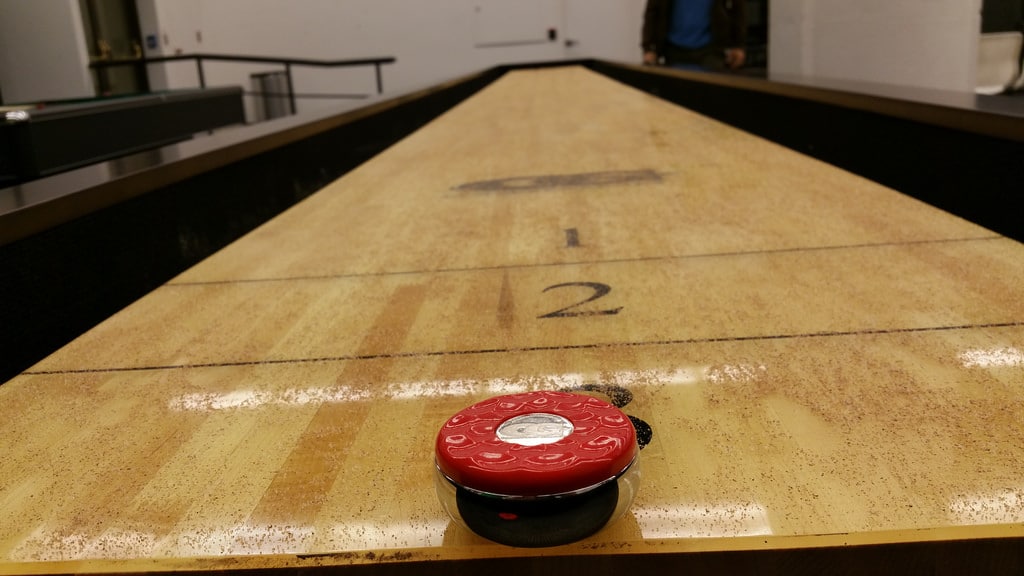
Hi, I have this exact shuffle board which I just bought from a friend, can you tell me how it is played on this seemingly non-traditional board that has a triangle? I’ve searched everywhere and can’t find the rules. Thank you!